How to Convert Raster to Vector Images?
Need to scale your image without losing quality? Let's learn how to convert raster to vector with a step-by-step guide. We’ll cover the tools, techniques, and tips for a smooth conversion.
Key Points
Raster images use pixels and lose quality when scaled, vector images are mathematically defined and can be resized infinitely without quality loss.
Before converting a raster to a vector, check if conversion is necessary based on shape clarity, scalability, and image complexity.
Adobe Illustrator is a powerful tool to convert raster images to vector formats but alternative software and online tools can also work.
Raster and Vector Images
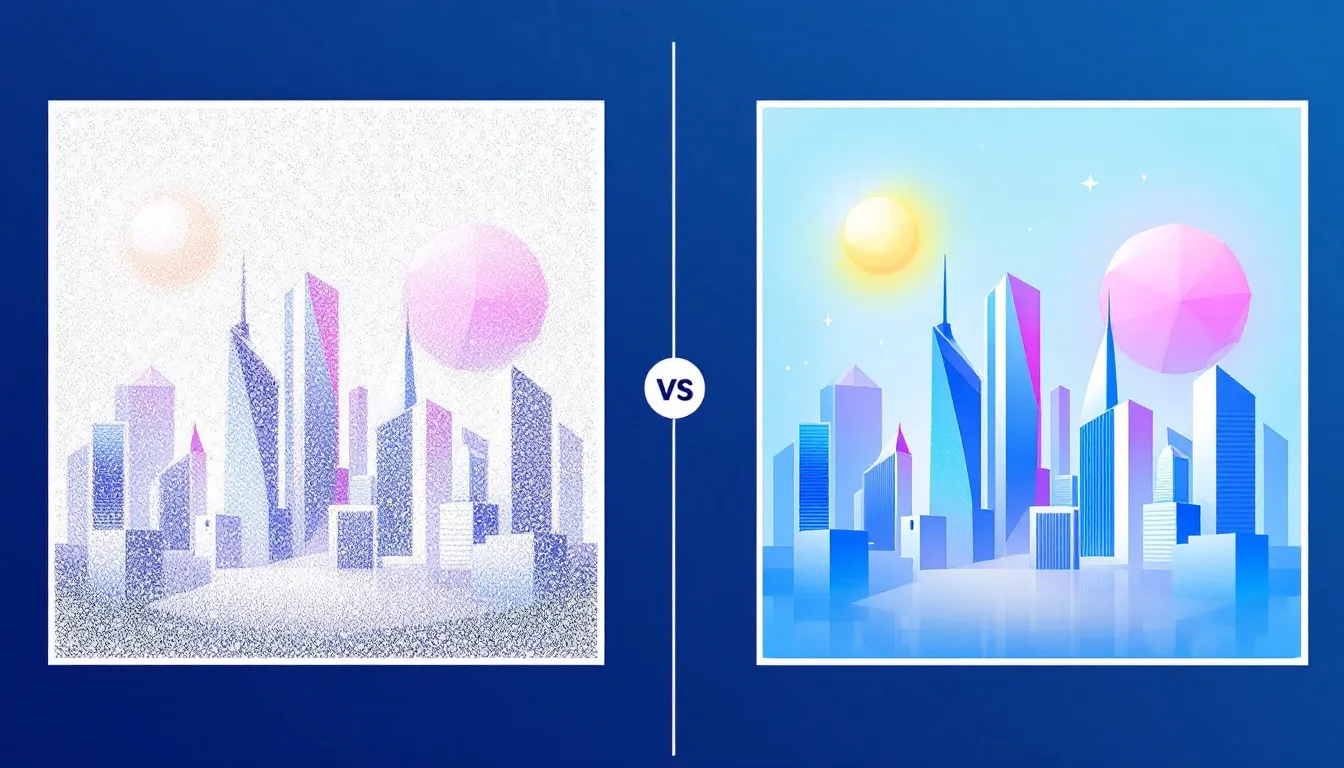
Raster images are made up of tiny squares of color called pixels which form intricate details in photos and other complex images. But the resolution of raster images is fixed, so scaling them up will lose quality and become blurry or pixelated.
Vector images use mathematical equations to define shapes, lines, and colors. This allows vector images to be resized infinitely without losing quality. The vectors provide scalability and clarity. This makes them ideal for various design applications. Because of this vector images are much smaller in file size compared to raster images which can be big due to the number of pixels. This scalability makes vector images perfect for logos and illustrations. Moreover, any application where the image needs to be resized frequently.
Vectorization is the process of converting a raster image into a vector image. Designers find this process useful for maintaining clarity and precision across different media. Raster images are used for detailed photos. Vector images are used for artworks that need to be scalable like logos and icons.
Understanding Raster and Vector Images
Let's go to each of them.
What are Raster Images?
Raster images, known as bitmap images. They are composed of a grid of tiny squares called pixels. Each pixel holds a specific color value, and together, they form the complete image. The resolution of a raster image is determined by the number of pixels it contains. So, more pixels generally mean higher resolution and more detail. Raster images are used in digital photography, web design, and various forms of digital graphics. Common file formats for raster images are JPEG, PNG, and GIF. But one downside of raster images is that they can become pixelated and lose quality when scaled up, as the individual pixels become more apparent. Detailed guide for Raster Images.
What are Vector Images?
Vector images on the other hand are created using mathematical equations to define shapes, lines, and colors. These equations use coordinates and paths. So the image can be scaled infinitely without losing quality. This makes vector images perfect for applications. Unlike raster images, vector images do not rely on pixels so they remain crisp and clear at any size. Common file formats for vector images are SVG, EPS, and AI. The scalability and precision of vector images make them a favorite among designers and artists. Check more about Vector Graphics.
Benefits of Converting Raster Images to Vector Images
Converting raster images to vector images offers several significant advantages. It includes enhanced image quality, increased scalability, and easier editing capabilities.
Check If Conversion Is Needed
Several benefits come with converting a raster image to a vector image. One of the main benefits is scalability. Unlike raster images, vector graphics can be resized to any dimension with no lost quality. So it’s perfect for applications like cutting, sewing, or laser engraving. Vector graphics allow easy modification of shapes and colors while maintaining the overall image quality.
But, we recommend checking if conversion is necessary for your project. Vectorizing highly detailed images may lose critical details. Consider the shape clarity, scalability, color control, and how often you will edit the image. For example, converting a logo to vector format will keep it consistent and crisp across different media types, so it’s worth converting.
Preparing Your Image for Conversion
Preparation of your raster image is key to getting the best conversion results. Start by setting the resolution of your raster image to 300 DPI. This high resolution will capture the finer details during the conversion process.
Next, clean up the original image by removing any unnecessary elements. Simplifying the image often improves the vectorization results. Reducing the color complexity helps the conversion tool to distinguish between different features better. Adjusting the contrast and brightness can also clarify details in the raster image so the conversion tool can trace the contours better.
Finally crop and resize the image to focus on the important parts. Optimizing the image beforehand will result in a smoother and more accurate vectorization process. These steps are crucial to get a high-quality vector image that meets your design needs.
Image Quality and Resolution
One of the main benefits of converting raster images to vector images is image quality and resolution. Raster images become pixelated and lose clarity when scaled up or down, as the individual pixels become more visible. Vector images remain crisp and clear at any size because they are defined by mathematical equations, not pixels. This makes vector images perfect for applications that requires high quality visuals like printing, signage, and branding. Whether you need a small icon or a large billboard, vector images will always look sharp and professional.
Image Editing and Cleanup
Another advantage of vector images is the ease of editing and cleanup. Vector images are made up of individual paths and shapes. So, you can easily modify specific parts without affecting the whole image. This level of control is especially useful in graphic design and illustration where precision is critical. Converting raster images to vector images can reduce file sizes making them easier to share and store. This is very beneficial for web design and digital publishing. It is where file size can impact loading times and overall performance.
Overall converting raster images to vector images can improve image quality, scalability, and ease of editing. Whether you’re a graphic designer, illustrator, or just want to improve the quality of your images converting raster images to vector images is a skill to master.
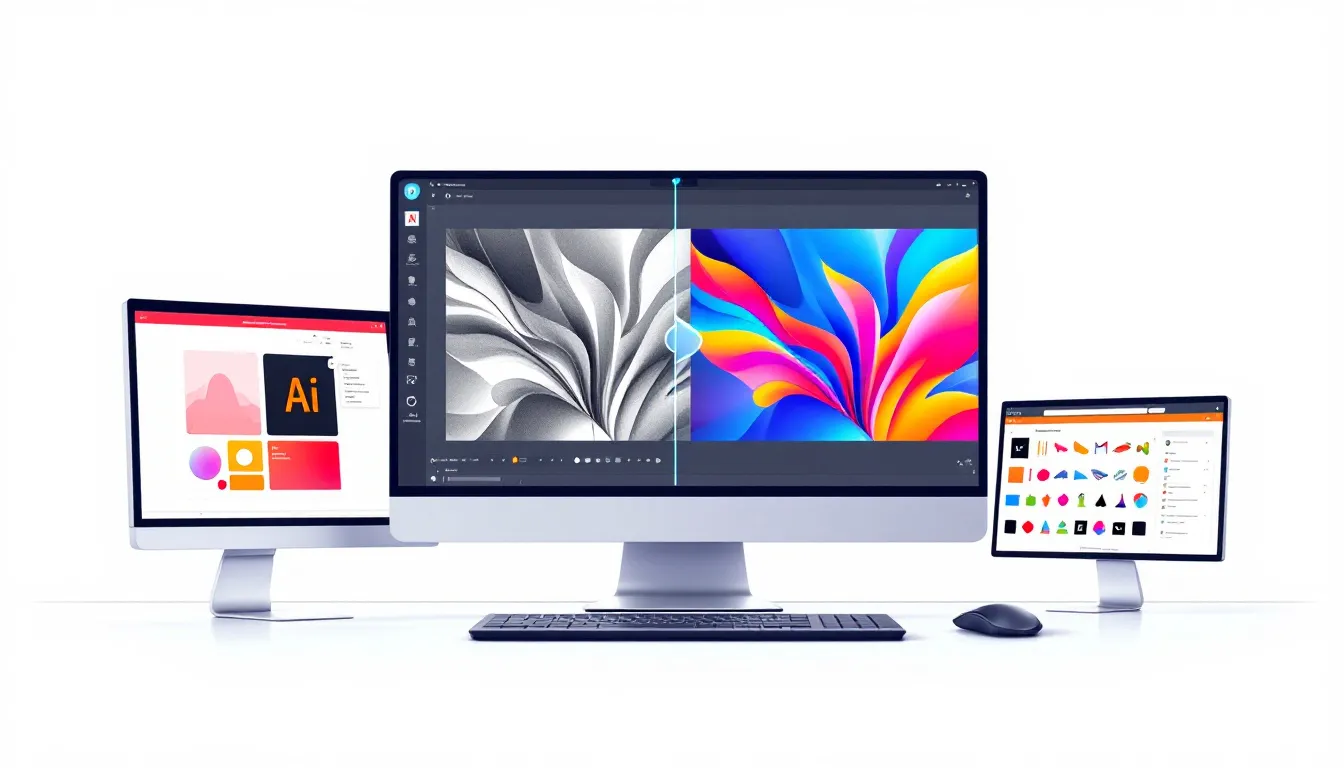
Converting Raster to Vector Using Adobe Illustrator

Adobe Illustrator is a powerful tool for vectorization. The process starts by importing or placing the raster file in Illustrator. A high-resolution image will result in a better-quality final vector graphic.
Adjusting the settings like resolution and color mode can greatly improve the quality of the final vector output. Post-conversion review is important to check for path connectivity and consistency so the final vector file is accurate and ready for further development.
Importing and Placing Your Image
Start the conversion process in Adobe Illustrator by importing your raster image. This can be done through the ‘Open’ or ‘Place’ options in the File menu. Whether you’re working with a photo in PNG or a hand-drawn sketch, importing the image correctly is the first step to successful vectorization.
Make sure the image is positioned properly on your artboard so the tracing will be smoother.
Using the Image Trace Tool
Once your image is placed, the next step is to use the Image Trace tool. This tool in Illustrator will create vector paths by tracing the contours of the raster image. Raster images will be converted to vector paths. So it will be compatible with all design applications. Depending on the type of image – photo, sketch, or logo – you can experiment with different preset options in the Image Trace panel to get the best results. After tracing use the ‘Expand’ to convert the traced image to editable vector paths. This step is important as it will transform the image from a traced outline to a fully editable vector graphic. Adjusting the settings inside the Image Trace tool can help you fine-tune the tracing process so the final vector image will match the original raster image.
For detailed images, tweaking the advanced settings like a number of paths, corners, and noise can give better results. Balancing detail level with the smoothness of vector paths aims to get a clean and precise vector graphic. In the case of more clean vectors, we use manual image tracing. It takes some time, however, the results are perfect.
Refining and Editing Vector Paths
Once the initial vector paths are created, refining and editing them is crucial to get high quality results. Simplify vector paths by selecting the object and using the ‘Path > Simplify’ option. This reduces the number of anchor points making the paths cleaner and easier to edit.
Viewing the design in outline mode helps you to identify and remove any unwanted pieces of geometry that may have been created during the conversion process. Refining vector paths ensures the final design is accurate and of high quality ready for any further adjustments or enhancements.
Alternative Tools for Raster to Vector Conversion
While Adobe Illustrator is a powerful tool for vectorization, there are several alternative tools that can convert raster images to vector formats effectively. Choosing the right conversion tool is important to prevent common errors during the raster to vector process.
These alternatives range from online vectorization tools to dedicated software solutions, each with its own features and benefits.
Online Vectorization Tools
Online vectorization tools provide a quick and easy way to convert raster images to vector formats. These tools have user friendly interfaces and are accessible even to those without technical skills. Popular online tools like Vector Magic and AutoTracer are known for their effectiveness and user satisfaction in converting images. They can also convert raster to vector seamlessly.
Pros of using online vectorization tools include ease of use, instant results and no software installation. Cons include file size limitations, potential loss of image quality, and internet dependency. Try multiple tools to see which one works best for you and gives the quality results you need. Online tools are good for quick projects or when working on different devices. They can handle various image formats including PNGs, JPGs and other images making them versatile for different vectorization tasks.
Dedicated Software Solutions
Dedicated software solutions offer more control and precision than online tools. For example, Vector Magic provides sub-pixel precision in tracing images resulting in high quality vector graphics. It can trace bitmap images like JPG and PNG to create true vector images and reduce file sizes.
Inkscape, a free software, uses Potrace for raster to vector conversion. Scan2CAD is another dedicated software to convert scanned drawings into editable CAD formats, ideal for technical applications. These tools allow you to modify settings for better outputs so you can get accurate and high-quality vectorization.
For casual users, WinTopo has a freeware version for basic raster to vector needs. Graphic Tracer Professional can convert images directly to vector formats with an intuitive interface making the process easy and fast.
Tips and Tricks for Optimal Vectorization
Keeping design clarity and precision is important when converting raster images to vector graphics. One way to do this is by scaling images correctly and using a custom color palette when converting tricky images. Editing tools can be used after tracing to clean up stray lines and adjust shapes for better quality.
In the Image Trace palette, you can adjust lines and image settings to refine your vector graphics. Expanding vectorization converts the object into editable vector art with fills, strokes, and paths so you can refine it further. The Corners option emphasizes corners and sharp bends; a higher value results to more corners and more precision.
Using a hybrid method that combines automatic and manual tracing can be more efficient and accurate when dealing with complex images. It’s also important to save your work frequently during the vectorization process so you can go back to previous versions if needed.
Exporting and Saving Your Vector Files
When exporting and saving your newly created vector files, choosing the right format is important. Adobe Illustrator has several formats that preserve full Illustrator data including AI, PDF, EPS, FXG, and SVG. Each of these formats has its own advantages. For example, EPS files can retain transparency and multiple artboards, making them suitable for various applications even if it’s a bit outdated.
SVG is good for web use and offers high quality graphics and compression options to reduce file size. Saving your artwork as AI first is recommended to maintain all Illustrator functionality. Using a naming convention for your files helps in organizing and retrieving your vector files. Saving in the background in Illustrator lets you work while the file saves.
Common Mistakes and How to Avoid Them
When converting there are some common mistakes in the raster to vector process. It can ruin your output. One big mistake is starting with a low quality raster image which will result in blurry and unsatisfactory vector output. Making sure the original raster image is high quality is the first step to avoid this.
Relying on the online bitmap to vector service that embeds pixels instead of tracing into vector shapes will lose quality when scaled.
Applications of Vector Images
Vector images are very versatile and scalable vector graphics. It makes them ideal for many applications. One of the most common uses is in logo design. You need scalability of the logo to any size without losing quality is crucial. This ensures your brand remains consistent and professional-looking across all media formats, from business cards to billboards.
Beyond logos, vector images are used in digital art and graphic design. They remain sharp and clear regardless of size adjustments. Digital artists prefer vector images for their versatility and ease of manipulation without losing image quality.
Many industries including automotive and medical use vector images for technical illustrations and schematics because of their precision. Vector graphics are also used in animations, enabling smooth scaling and manipulation of characters and objects. The applications of vector images are vast and varied, making them an essential tool in modern design.
Conclusion
Converting raster images to vector images is a powerful technique. It offers many benefits including scalability, ease of modification, and smaller file sizes. Knowing the difference between raster and vector images is the first step to mastering this process. By preparing your images well and using Adobe Illustrator. You can achieve high quality vector graphics that meet your design needs.
Whether you’re using online vectorization tools or dedicated software solutions, the key is to choose the right tool for your project. By following the tips and tricks in this guide and knowing the common mistakes, you can have a successful raster to vector conversion. The applications of vector images are vast, from logos and digital art to technical illustrations and animations. Use the power of vectorization and take your designs to the next level. We have tried many different online conversion tools, however, the best results were given by design software like Adobe Illustrator, Inkscape, etc.
Frequently Asked Questions
How do I convert raster to vector?
To convert raster to vector, open your raster file in Illustrator and use the Image Trace tool. After tracing, simplify vector paths and remove any unnecessary geometry for a clean vector output.
Can you convert raster to vector in Adobe?
Yes, you can convert raster to vector in Adobe using various tools designed for this purpose. Check out the documentation above on converting raster to vector for more information.
Is converting raster to vector difficult?
Converting raster images to vector files is tricky and requires patience and skill to get good results. While the process itself is not that complicated, mastering it takes practice.
What’s the main difference between raster and vector?
The main difference is that raster images are made of pixels and lose quality when scaled, while vector images are defined by mathematical equations and can be scaled without losing quality. Check more for raster vs. vector.
Can I convert photographs to scalable vector graphics?
Yes, you can convert photographs to scalable vector graphics (SVG) using tools like Adobe Illustrator (Image Trace), Inkscape (Trace Bitmap), or online vectorizers. However, photos contain complex colors and shading, so the result may look more like a simplified illustration rather than a perfect replica. For vectorize an image, use high-contrast images or manually trace them in vector software.
What are the common mistakes in raster to vector conversion?
Common mistakes in raster to vector conversion include starting with low quality raster images and losing details with subpar tools. Not refining vector paths after conversion can also affect the final result.
Should I use raster or vector for printing t-shirts?
Use vector (SVG, EPS, AI, PDF) for printing t-shirts, as they offer infinite scalability, crisp edges, and high-quality results. Vectors ensure designs remain sharp and detailed at any size, making them perfect for screen printing, heat transfer vinyl (HTV), and direct-to-garment (DTG) printing.
Raster images (PNG, JPG, TIFF) can work for DTG and sublimation printing but must be high resolution (300 DPI or more) to avoid pixelation. Vectors are the best choice for professional t-shirt printing!
Do you need a professional raster to vector service? Contact with us through [email protected].
 Special Day SVG

Comments
No Comments