How To Apply Vinyl On Plastic Cups: A Guide for Tumblers, Mugs, etc.
In this blog post, we will be explaining how to apply adhesive vinyl on plastic cups and other types of vinyl cups.

Let's Learn Applying Vinyl to a Tumbler
Vinyl can be applied to tumblers and is easy to personalize. Creating DIY vinyl cups is a fun and easy way to personalize your drinkware. See the quick application method and follow the steps! There are a lot of choices, and sometimes, we can not decide which option we are interested in. This is the ultimate guide for vinyl projects. First, let’s look at what you need for the process. You need; vinyl, vinyl adhesive, transfer tape, weeding tools, a cutting machine, a tape measure and for cleaning the tumbler some alcohol and pieces of cotton. This process also answers how to Cricut a yeti cup.
Choose the Best Vinyl for Tumblers
What is the best vinyl for cups and tumblers? Vinyl adhesives, including vinyl adhesive, are available in removable or outdoor vinyl and permanent vinyl. The name is largely based on the product you use. You will most likely need permanent or outdoor vinyl for the tumbler. This vinyl material is intended for use in dry environments and will last longer. Currently, our favorite Cricut brand is the Oracal. However, many crafters have already experienced a different brand and like it, let’s keep doing with it.
Preparing the Design
Preparing the design is a crucial step in applying vinyl to a cup. Start by determining the size of the decal needed using a tape measure or ruler. This ensures that your design will fit perfectly on the cup without being too large or too small. Once you have the measurements, use design software like Cricut Design Space to create and edit your design. Make sure to mirror and reverse the design, as it will be applied to the cup in reverse. This step is essential for ensuring that your design looks correct once transferred.
Upload your file to Cricut Design Space & Cut
So for your initial setup, put your files in Cricut Design Space or other design spaces. Here, you can check how to upload SVG to Cricut Design Space. When the file is uploaded, start to place your vinyl adhesive on the green or blue cut mat. Line it up with the top left corner, set your dial to vinyl, or choose vinyl from the materials list. Then load your mat and push the start button when prompted.
After your vinyl is cut, press the unload mat button to release your mat. Flip your mat over and remove the mat from the vinyl to help prevent your vinyl from curling.
Weeding Process with Tools
Time to weed the vinyl with a weeding tool. Remove the excess vinyl from your design. And keep doing it for any pieces until reaching your main design.
Apply the Transfer Tape
Now use transfer tape, which keeps your design all together easily.
Tumbler Cleaning
The next step is to clean the tumbler to stick it well. The stick’s power depends on your surface’s cleanness and smoothness. That’s why clean it perfectly. You can use some alcohol and cotton to clean surfaces. Proper cleaning ensures that the vinyl stick well to the surface, providing a durable finish.
Vinyl Application
Place your fingers around the center of the decal and place it on the tumbler. If you hold the decal taught, just the center will touch. Don’t press down on it yet; take a look to make sure you have it straight. When satisfied with the decal’s position, press firmly down and then other side. Keep rubbing over all the decals for it. You can use a scraping tool.
You can start removing the transfer tape when the vinyl is all stuck. (Tip: It’s better to keep the transfer tape down and peel back versus pulling straight up.)
If vinyl decals try to come up with transfer tape, you need to rub more until it does not come with the transfer tape.
Cutting and Weeding the Vinyl
Cutting and weeding the vinyl is a delicate process that requires patience and attention to detail. Begin by cutting a piece of vinyl adhesive at least 1cm larger than your intended decal size using a cutting machine, such as a Cricut or Cameo. Place the vinyl on the cutting mat with the shiny side up and use a squeegee to burnish it, ensuring it adheres smoothly to the mat. After cutting, carefully remove the excess vinyl from your design using a weeding tool or tweezers. Take your time to avoid removing any important parts of the design, as precision is key to achieving a professional look.
Materials List: Vinyl, Transfer Tape, and More
To apply vinyl to a cup, you will need the following materials:
Permanent adhesive vinyl: This is the best vinyl for cups as it ensures your design will stick firmly and last longer. Permanent vinyl is also known as permanent craft vinyl or adhesive vinyl.
Transfer tape: Essential for transferring your vinyl design from the backing paper to the cup without losing any pieces.
A cutting machine: A Cricut machine is highly recommended for precise cuts and ease of use.
A tape measure: To accurately measure the cup and ensure your design fits perfectly.
A squeegee or scraper tool: To smooth out the vinyl and remove any air bubbles.
A weeding tool or tweezers: For removing excess vinyl from your design.
A cup or mug: This can be made of ceramic, glass, or plastic, but make sure it’s clean and dry before starting.
Having these materials on hand will make the process of creating DIY vinyl cups smooth and enjoyable.
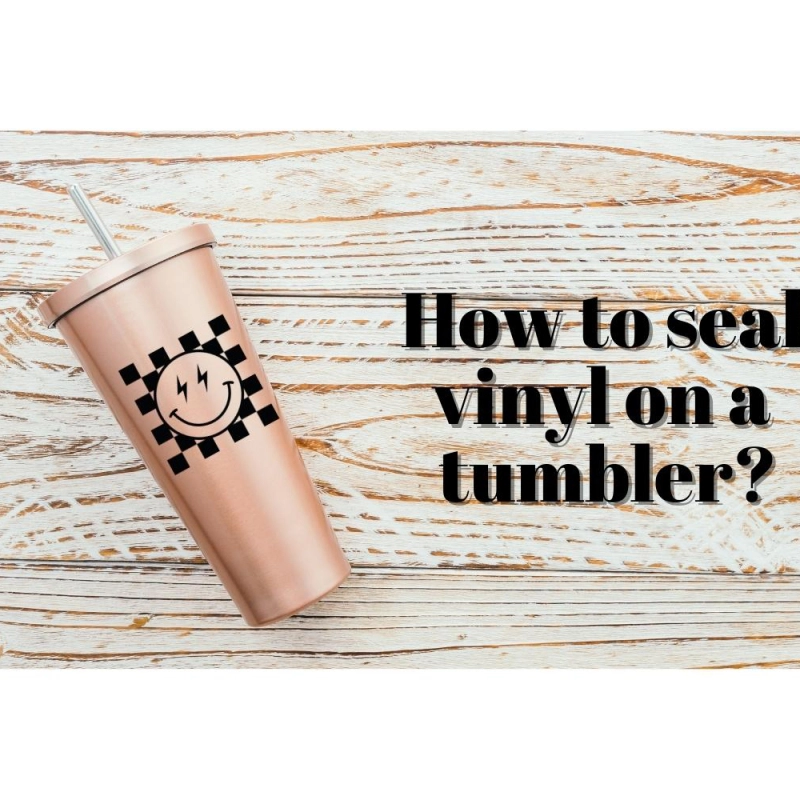
How do you seal a vinyl tumbler without epoxy?
There are several methods for sealing a tumbler that do not involve the use of epoxy. Instead, use Mod Podge, CrystaLac, or a clear acrylic spray to seal your vinyl adhesive. Each has benefits and drawbacks, so pick the one that works best for you.
Can you use Mod Podge to seal the vinyl?
Spray sealants such as polyurethane or polyacrylic paint can be used to seal vinyl. ModPodge is the most appropriate sealing material for vinyl adhesive. ModPodge is a versatile vinyl sealant. You can brush a coat of Mod Podge over your vinyl decal to seal it, just like you would paint it.
How to seal vinyl stickers?
For sealing vinyl adhesive stickers, use a spray sealer (clear coat), Mod Podge (indoor), or epoxy resin (high gloss) for durability and protection. Choose based on finish and surface.
How do I keep my vinyl from lifting on tumblers?
Wipe the tumbler clean and rub it with alcohol. This will aid in removing residue and dirt that may impede vinyl adhesion. Put vinyl in it for 48-72 hours to ensure it stays strong. Or, before applying it, you can use transparent paint. The surface to which you’re applying the vinyl adhesive may be uneven. Using clear paint to smooth out the rough spots and add shine to your decal will help! This is a simple method for preventing adhesive vinyl from peeling.
How do you keep vinyl from peeling off plastic tumblers?
Ensure your plastic cup or stainless steel tumbler has been cleaned and dried before you begin. And use rubbing alcohol to clean the cup. This helps remove any remaining grease or residue that may prevent the vinyl adhesive from properly adhering. Allow the vinyl to cure on the cup for around 2-3 days to ensure proper adhesion.
How do you get the vinyl to stick to plastic cups?
The vinyl will not stick to the plastic cups if they are clean. Using permanent craft vinyl adhesive ensures that your design will adhere strongly and last longer. You need to clean the vinyl on plastic cups with soap and water and dry them off before you apply the vinyl.
How do you transfer vinyl decals to cups?
Transferring vinyl decals to cups is a process that is simple and easy to do. Here are the steps to transfer vinyl decals to cups:
1- Clean the cup with soap and water. (or alcohol and cotton)
2- Place the vinyl adhesive decal on the cup and position it properly
3- Wet the backing of the vinyl decal with a wet sponge or cloth
4- Rub gently until you see air bubbles form
5- Peel off the backing slowly while rubbing in a circular motion
6- Let dry for 24 hours before using.
Using Transfer Tape to Transfer Adhesive Vinyl
Transfer tape is an essential tool for transferring adhesive vinyl to a cup. Cut a piece of transfer tape at least 1cm larger than your vinyl adhesive decal. Remove the backing paper from the transfer tape and place it over the decal, ensuring it is centered and smooth. Use a squeegee to flatten the transfer tape over the decal, removing any bubbles or creases. This step is crucial for ensuring a smooth and even transfer of the vinyl to the cup, making the application process much easier and more precise.
Tips for Transferring Vinyl to Curved Surfaces
Transferring vinyl to curved surfaces, such as a cup, can be challenging. To ensure a smooth transfer, snip the transfer tape several times to create small cuts. This allows the tape to conform to the curved surface of the cup more easily. Carefully apply the vinyl adhesive design to the cup, making sure it is aligned properly and straight. Remove the transfer tape slowly, working from a corner inward, to prevent air bubbles from forming. This method helps achieve a professional finish, even on tricky curved surfaces.
Applying the Vinyl Design
To apply the vinyl design to the cup, follow these steps:
Clean the cup thoroughly: Use soap and water to wash the cup, then dry it completely. This ensures that the vinyl will stick properly.
Measure the cup: Use a tape measure to determine the size of the vinyl decal you need. This helps in creating a design that fits perfectly.
Cut the vinyl decal: Use a cutting machine like a Cricut machine to cut the vinyl to the desired size.
Weed the excess vinyl: Carefully remove the excess vinyl from your design using a weeding tool or tweezers. This step requires patience to ensure you don’t remove any important parts of the design.
Apply transfer tape: Place transfer tape over the vinyl decal, making sure to cover the entire design. This helps in transferring the design to the cup without losing any pieces.
Place the vinyl decal on the cup: Start from the center and work your way outwards to ensure the design is centered and straight.
Smooth out the vinyl: Use a squeegee or scraper tool to smooth out any air bubbles or wrinkles. This ensures a clean and professional look.
Remove the transfer tape: Slowly and carefully peel off the transfer tape, making sure the vinyl decal stays in place.
Following these steps will help you achieve a flawless vinyl application on your plastic cup.
Cleaning the Merchandise
Cleaning the merchandise is a crucial step in ensuring a successful vinyl application. Start by thoroughly cleaning the cup with soap and water, then dry it completely. Use alcohol and a cotton pad to remove any grease, dust, or dirt from the surface of the cup. This ensures that the vinyl adhesive decal adheres smoothly and evenly, preventing any issues with lifting or peeling later on. A clean surface is key to a long-lasting and professional-looking vinyl application.
Can you layer permanent vinyl on top of each other?
Yes, you can easily layer one vinyl over the other, so you don’t need to worry about how they’re applied. Both permanent adhesive vinyl and removable vinyl adhesive can be easily layered as a top, center, or bottom. You can put glitter and special vinyl as the first layer.
How do I transfer vinyl?
Transferring vinyl to other surfaces is a great way to reuse or recycle it. You can transfer your own vinyl adhesive designs onto anything from t-shirts to mugs and wood.
There are a few different options for transferring multiple layers of vinyl. The first is with the use of heat transfer vinyl tape. This is a thin adhesive that you lay down on the surface to which you want the vinyl transferred and then place your vinyl on top of it. The second option is the use of a Cricut machine. A Cricut machine will cut out the design in your vinyl, and then you can peel it off and stick it onto whatever surface you want!
How do I transfer multiple layers to vinyl?
The bottom layer should be your outline of the vinyl adhesive design. You need to apply all layers on top of this bottom layer. For the next layers, you need to use transfer tape and peel away the paper backing from the vinyl. Once you remove it, you will need parchment paper for the following process. Cut a piece of parchment paper around the same size as your layer design. Place your second layer of vinyl on the parchment backing paper and press slightly. Keep one hand of your transfer tape and with the second hand, remove the parchment gently. Here you go; you can repeat how many layers your design has.
What is indoor vinyl?
It is called indoor vinyl because it is for interior use (walls, furniture). It’s thinner, easier to apply, and has a gentler vinyl adhesive for safe removal from indoor surfaces.
What is outdoor vinyl?
Outdoor vinyl is a type of vinyl specifically designed for use on outdoor surfaces, such as signs, banners, and decals. It is made to withstand harsh weather conditions, including sunlight, rain, and wind. Outdoor vinyl is typically thicker and more durable than indoor vinyl, and it features a special UV protective layer to prevent fading. This makes it the best vinyl for projects that will be exposed to the elements, ensuring your designs remain vibrant and intact over time.
What is outdoor viny?
Outdoor vinyl is a tougher version of vinyl made to resist weather conditions like sun, rain, and wind. Think of it as heavy-duty vinyl adhesive for outside use.
What is the difference between indoor and outdoor vinyl?
The key difference between indoor and outdoor vinyl lies in their material properties:
Durability: Outdoor vinyl adhesive is made to withstand harsh weather conditions like sunlight, rain, and wind. It’s typically thicker and more tear-resistant than indoor vinyl.
Material: Outdoor vinyl often uses a special UV protective layer to prevent fading from sunlight. Indoor vinyl may be thinner and more susceptible to fading or peeling over time.
You can look at the Tumbler SVG category to see many patterns for your Tumbler.
Download now trending Christmas SVGs.
If you need to get your mat sticky back, check our How to Clean a Cricut Mat and Make It Sticky Again blog post.
Many thanks for your attention!
 Special Day SVG

Comments
No Comments